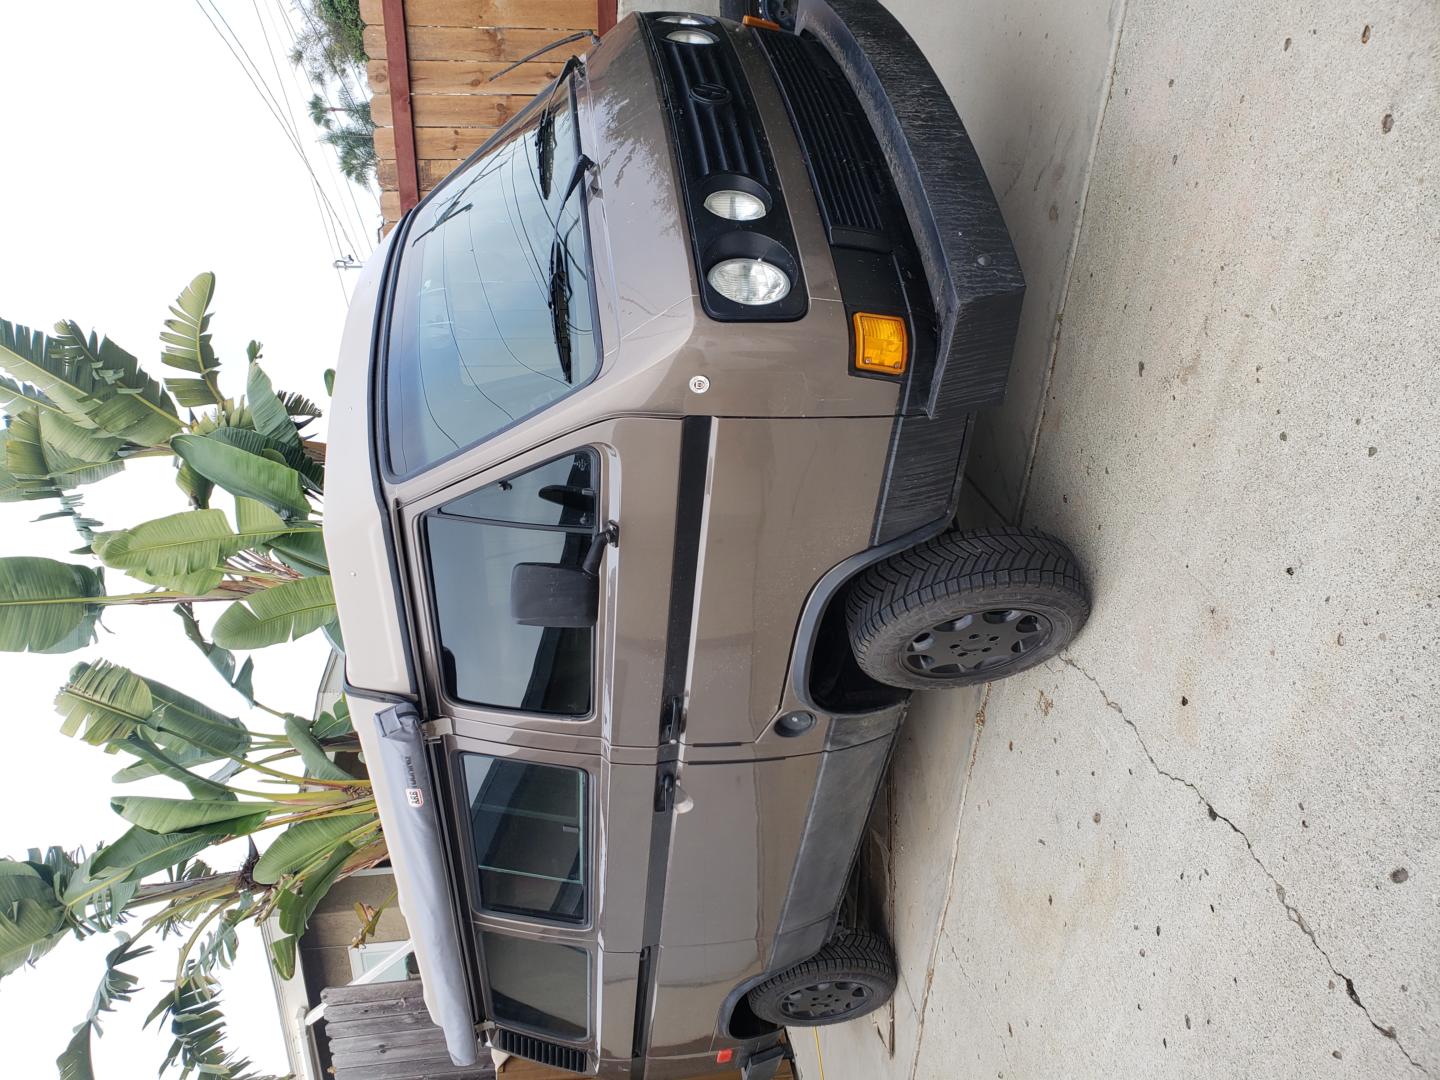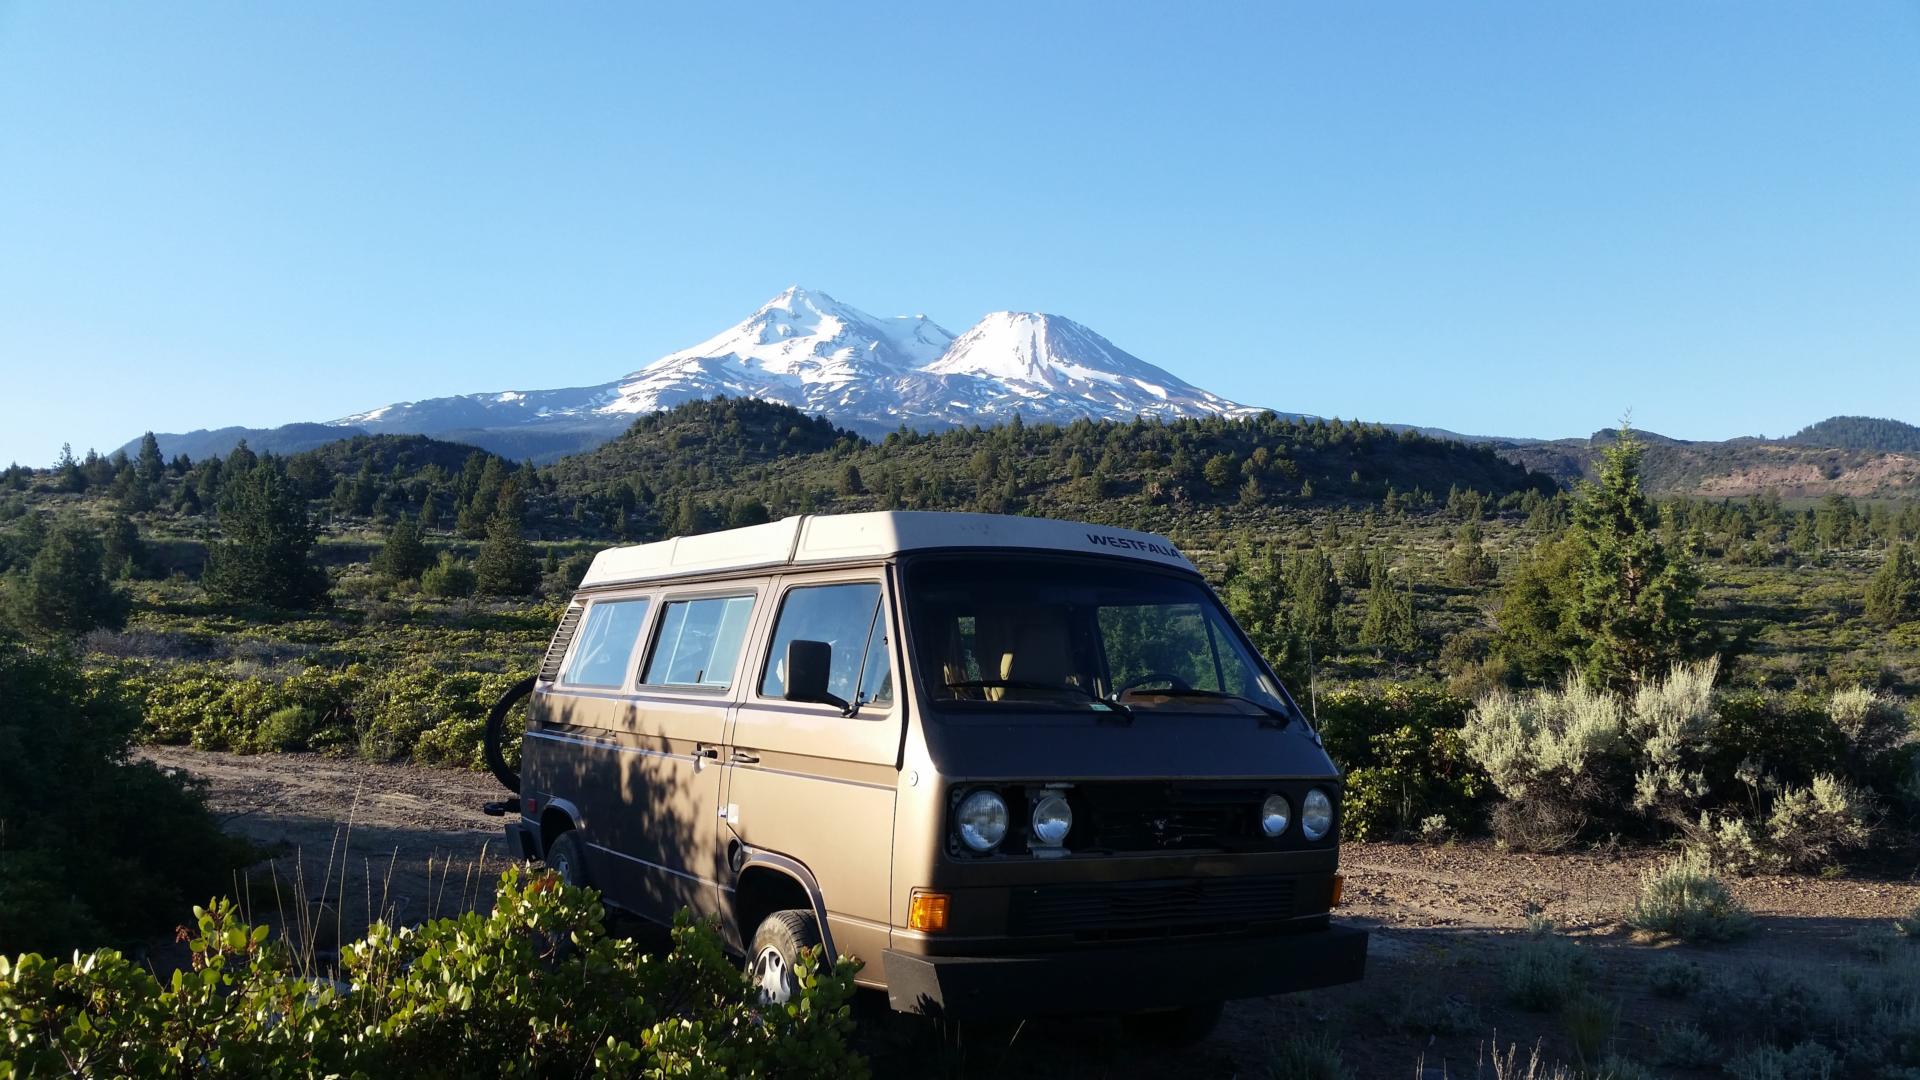
Top Things to do to Your Vanagon After You Buy it.
Originally Published on August 02, 2018
Once you get a Vanagon depending on what you know about the history there are several things you should think very about doing. The first is changing the fuel lines. Just google Vanagon fuel lines and the fire pictures should tell you all you need to know about the why. You can do this yourself but it’s a pretty involved job. The tank is near the front of the vehicle and the engine at the back. Lots of line between. You probably need to reseal the gas tank as well which requires dropping it out of the Van. Here is the best how to I have seen on the project but the Samba probably has 40 posts on it as well: https://www.vanagon.org/fuel-line-replacement/. Go Westy, of course, has a kit and good info. I ran into a Vanagon owner recently that said his lines were replaced with stainless steel. This sounds like a great long-term fix but at the moment I have no info in that and a quick Google search came up skins. I hope to update the blog when I do.

Once you get a Vanagon depending on what you know about the history there are several things you should think very about doing. The first is changing the fuel lines. Just google Vanagon fuel lines and the fire pictures should tell you all you need to know about the why. You can do this yourself but it’s a pretty involved job. The tank is near the front of the vehicle and the engine at the back. Lots of line between. You probably need to reseal the gas tank as well which requires dropping it out of the Van. Here is the best how to I have seen on the project but the Samba probably has 40 posts on it as well: https://www.vanagon.org/fuel-line-replacement/. Go Westy, of course, has a kit and good info. I ran into a Vanagon owner recently that said his lines were replaced with stainless steel. This sounds like a great long-term fix but at the moment I have no info in that and a quick Google search came up skins. I hope to update the blog when I do.
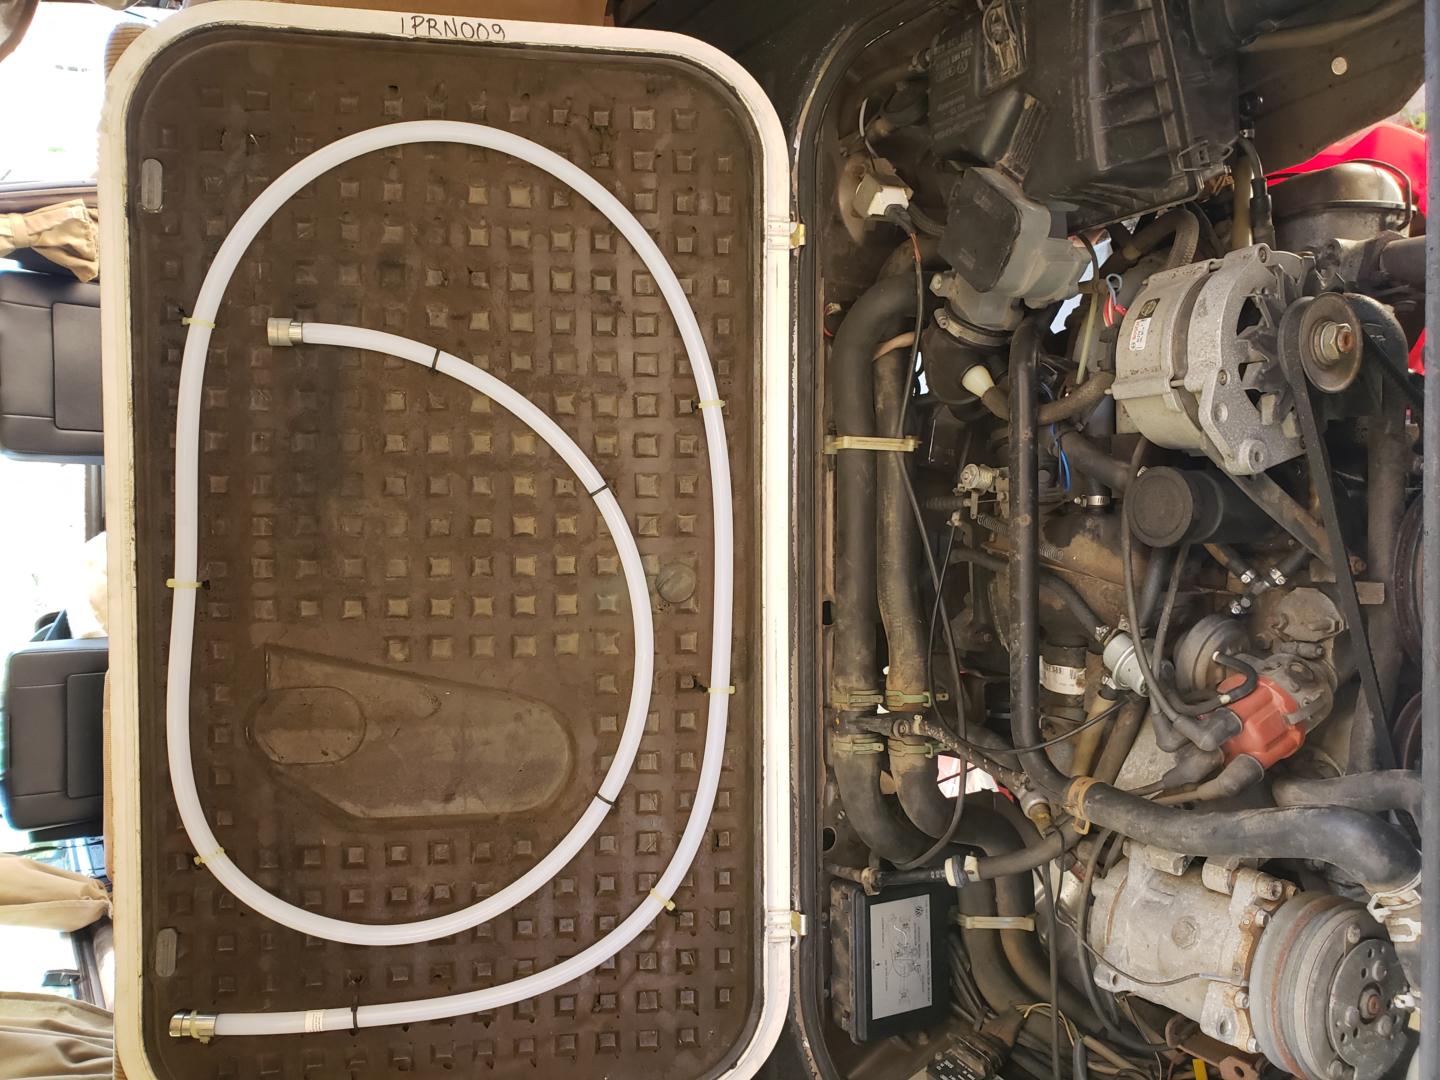
The cooling system is another potential failure point so you will want to flush and fill the cooling system with distilled water and phosphate free coolant. If you have any doubts about the temperature gauge and warning light on the panel get them checked. They are crucial to operating this rear engine vehicle. I find the Go Westy article on this system in their library the best and easiest to follow so I recommend reading it. The Samba again has a boatload of info but it’s not easy for the novice to make sense of. It is common to do a full stainless steel coolant lines upgrade and all the best vendors offer a kit. I have not yet done this but it is on the shortlist.

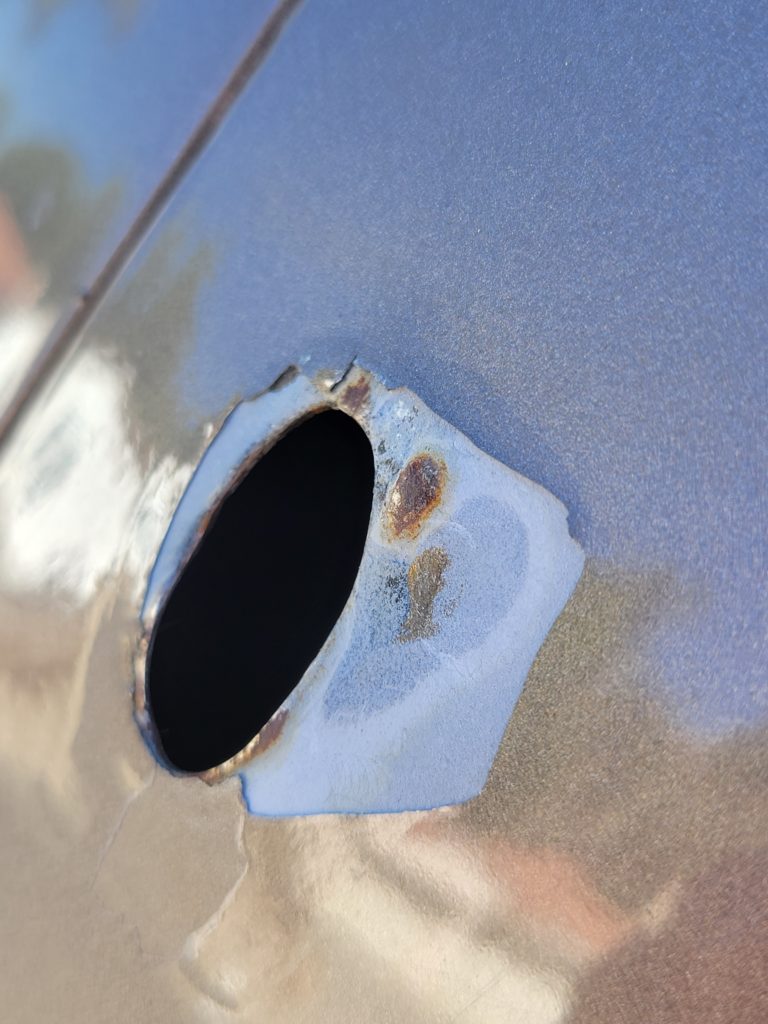
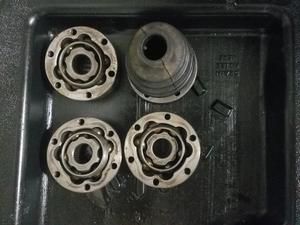
The last must do is to re-grease the CV Joints and replace the boots if necessary. This is, in fact, a very easy job. It is however quite messy. If you don’t mind getting dirty and have some basic tools like a socket wrench you should do this one yourself. There are good instruction all over the web. There is a good video below. Unbolting it from the Vanagon is no more complex than removing the bolts that go through the CV Boots at both ends of the ales. On a 2WD Vanagon, you only have the 2 axles. On a Syncro, it is more of a complex job due to steering. I don’t have a Syncro so you are on your own there but I am pretty sure the same skills apply you will just need to get an alignment after. I suggest replacing the boots no matter what. They are cheap and the most likely thing to fail.
I did not do a CV service when I got my Vanagon and consequently, I cooked a joint. It was not a big deal and did not strand me anywhere. What happened is a clacking developed in the right rear of the van. I had brought it into a shop for some work and was planning on paying them to do it. They, however, could not hear the clacking and were to busy to troubleshoot. I figured I’d save the $900 I hear that replacing CVs through a shop costs and did it myself. I bought the Go Westy kit for a complete axle rebuild so I got 4 new CVs and boots plus bolts. I want to say that was about $300. What surprised me was you could feel that the van was smoother on the road, in particular when letting out the clutch to get started. Money well spent and it was fun to do.